Let's talk LIGHTS!
We've all been there, cruising down the road minding our own business, just to have a first-degree encounter with an electrical powerplant of light on two wheels.
I'm not here to talk trash about that choice; I'm here to say that all that light might not be helping as much as you think, and to give you some tips on how you can maximize your light investment.
I will not be talking about LED vs. halogen, nor if you should be looking for watts or lumens to weed out marketing stunts.
No, today, we are here to talk practicality and to explain how the best light system in the world will do nothing for you if it's not correctly adapted to your needs.
TYPES OF LIGHTS
I'm sure it will not come as a surprise for many, but lights aren't solely defined by size and power, but also, and potentially more importantly, defined by their light pattern.
This means it's vital to know how those patterns look and their use before spending your money on something we don't need.
DRIVING LIGHTS
Driving lights are designed to aid your high beam headlight illuminating roadsides, making them more visible.
These lights are standard equipment on all bikes, and sometimes a simple lamp upgrade can make a huge difference in visibility.
Many new models are now coming stock with LED lights, and to those, little to no upgrade is necessary for most cases.

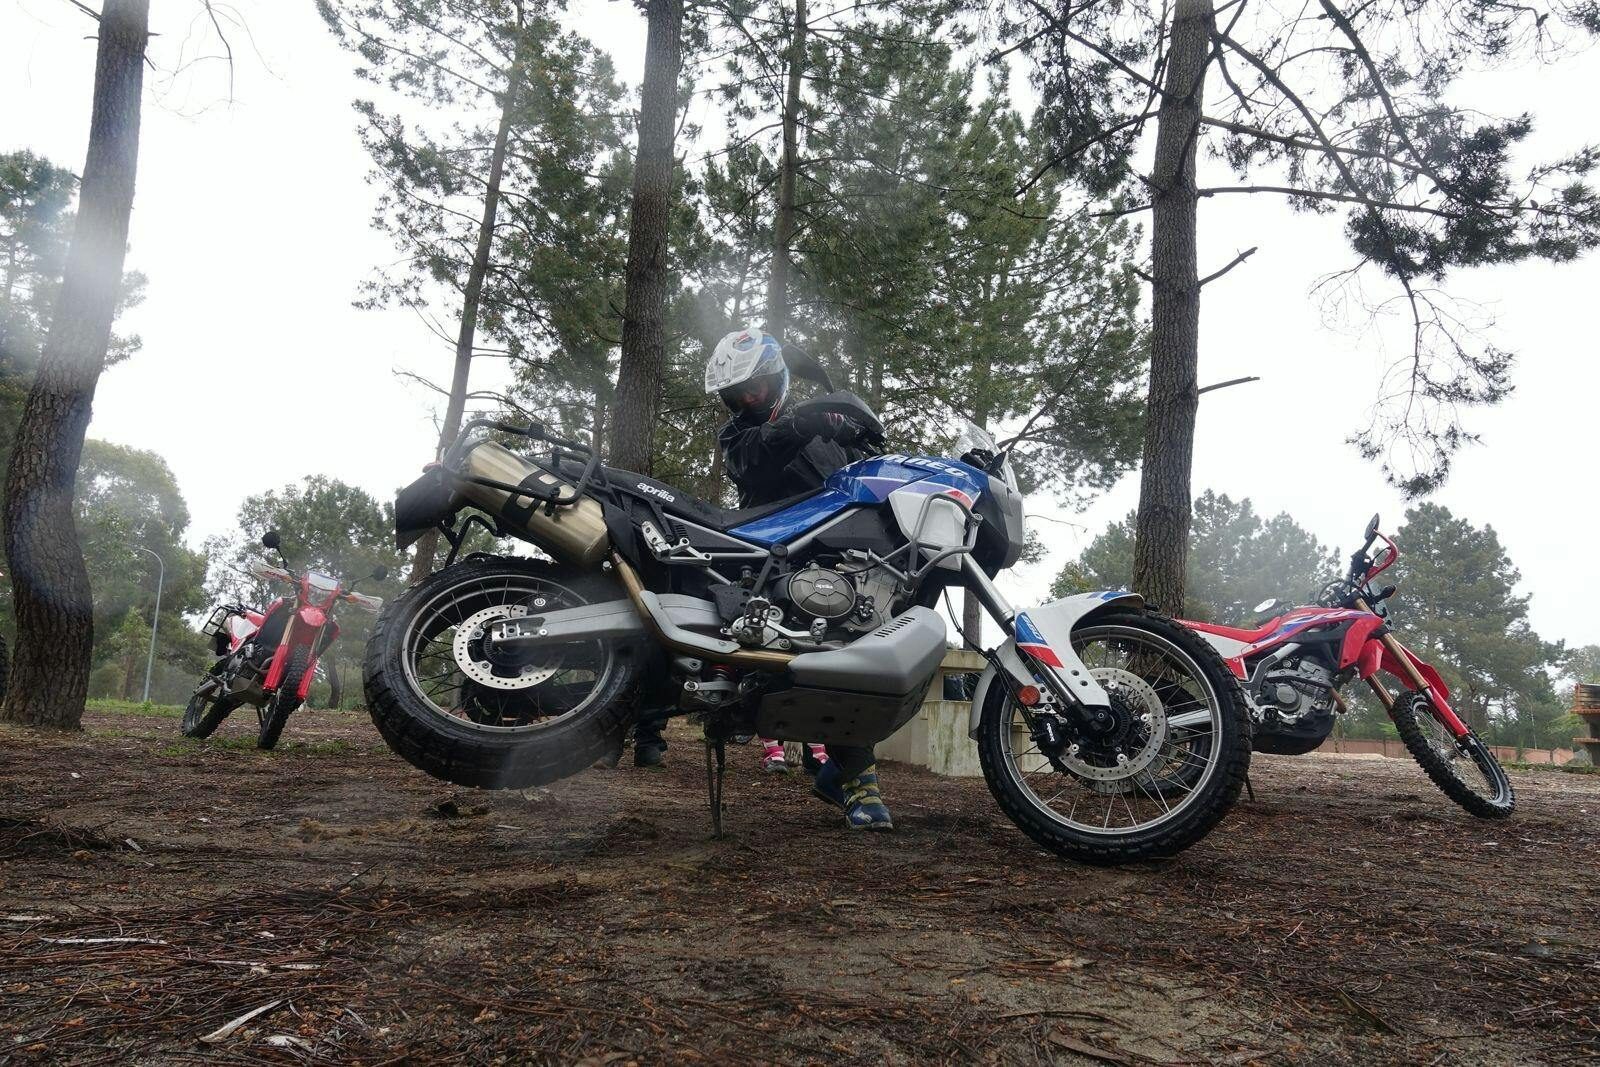
Reference: Image from BN Enduro Camp
FLOODLIGHTS
A floodlight can have a beam spread of up to 120 degrees, and it can illuminate a larger amount of space with the same wattage and lumen output as a spotlight, but more on spots in a bit.
Some bikes come stock with floodlights, and due to their widespread beam, having them in your light kit can be a tremendous help in seeing roadsides better.
E.g., If you are riding in places with cliffs or deep ruts by the sides of the road, this kind of light can be a tremendous help and worthy upgrade.
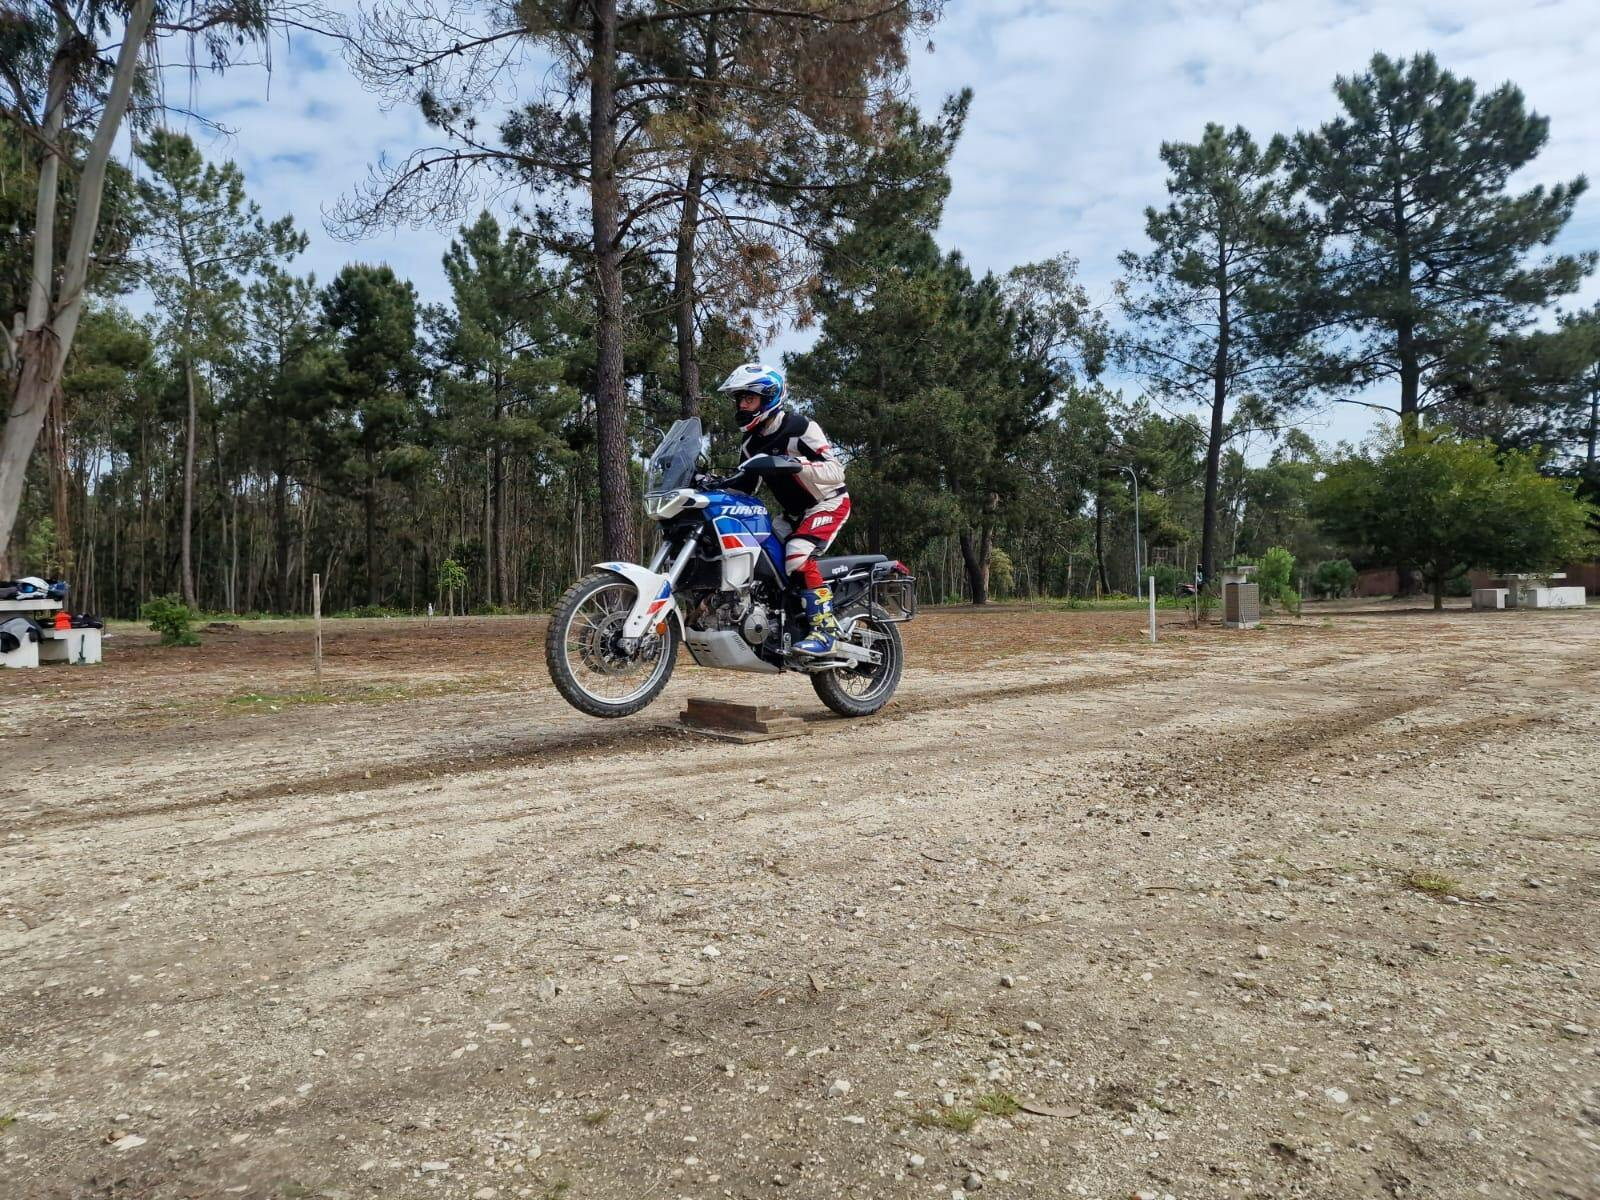
Reference: Image from BN Enduro Camp
SPOTLIGHTS
A spotlight casts a narrow beam of light, usually no wider than 45 degrees.
This means that spots are meant to show you what's ahead, far ahead.
If you are riding desert or locations where the terrain is on a general note flat(ish), a spotlight will play a huge part in helping you know what is coming in the distance, giving you time to prepare.

Reference: Image from BN Enduro Camp
FOG LIGHTS
Fog lights (that many times show up in combos) are intended to be mounted below the headlights and project a beam pattern which is very wide horizontally and narrow vertically, usually called a cut-off.
These kind of lights are many times confused with floodlights, and understandably so.
As an incorrect rule of thumb, fog and floodlights tend to be mounted in the same location, as many brands don't properly disclose specs, making it very hard for most riders to distinguish them.
The trick is in the vertical cut-off.
A floodlight in the fog will tend to make everything so bright that driving becomes harder with the light on, as opposed to driving with it off.
Fog lights are designed for foggy conditions, and although they can be used in other situations due to their extremely wide horizontal pattern, it shouldn't be confused with other kinds of lights.
Reference: Image from BN Enduro Camp
Having different patterns means that you can do as many combinations as you want and need and that there is nothing wrong with bikes using a mix of both flood and spotlights, for instance.
Some manufacturers will even have different patterns within the same light set, so keep that in mind when researching your setup.
Reference: Image from bajadesigns.com with a kit using both driving and fog patterns in one set.
HOW TO SETUP LIGHTS
Revision made, it's time to hit the nail in the head and talk about motorcycle light setup.
Lots of lights with many different light patterns doesn't mean you will be using your lights to their full potential, so knowing how to set them up is key for proper usability.
If you do mainly road, a good setup becomes a bit more trivial, but if you are doing off-road than this becomes vital for proper night riding performance and safety.
When off-roading on anything over gravel roads, you will start to find holes, elevations, or difficulties like logs or boulders that will force you to have a more active driving style, and that means your bike will jump around.
When doing so, if your lights aren't properly set up, you will lose track of where you are heading, and that screams danger.
Let me exemplify.
On a typical setup, one tends to add lights to the front of the bike - regardless of their type for this explanation - creating a pattern dispersion similar to this one.

Reference: Image from BN Enduro Camp
However, this is extremely restrictive as it doesn't allow you any visibility when the terrain gets choppy.
Let's take a simple up and downhill combination using this setup.
Although you will be able to see the top of the hill, you will not have decent light illuminating the downhill, meaning you have no idea if there are ruts, logs, water, or a cliff on the other side.

Reference: Image from BN Enduro Camp
The solution?
Off-set the light direction between your auxiliary and main lights, as shown below.
Reference: Image from BN Enduro Camp
I believe we can all agree that this works a lot better; however, it is not enough.
Changing the light direction in this fashion will indeed allow us to see the downhill in front of us, but it does nothing if we introduce a new obstacle, a downhill followed by an uphill.
As it happened in the previous example, this light pattern will allow us to see where we are, but it will do nothing to show us where we are going.
This means that to maximize our safety, we need to offset our auxiliary lights from the main beam and between themselves.
Reference: Image from BN Enduro Camp
Make no mistakes. A setup where the auxiliary lights are offset amongst themselves will drive even the least OCD of us into madness.
It will look absolutely ridiculous on the highway and make you the laughing stock of your friends, still, when the going gets tough, the laugher tends to stop as the quest for your advice rises.
I tend to leave my lights as is, but if you are struggling to keep your sanity, you can always set your lights straight to give your OCD peace of mind once you reach road sections.
There is no point in buying the most expensive set of lights in the world if it is pointing to a different place than the one you need to be looking at.
Be smart, do a self-audit to figure out what kind of terrains you will be using your lights in, and adjust them to your needs, as this is something no marketing add will ever tell you to do.
HAVE YOU SEEN THESE POSTS?


Tags
- Tudo
- 2019 baja 500 portalegre
- 2019 BMW F850GS Rallye
- 2019 BMW R1250GS
- 2019 BMW R1250GS Honest Review
- 2019 BMW R1250GS Review
- 8 rookie mistakes
- 8 rookie travelling mistakes
- A arte do arranque
- A mentalidade do sucesso
- a mota segue os olhos
- abs brake system for bikes
- abs brake system for motorcycle
- abs brake system in bikes
- ABS frente off-road
- acceptance
- ACELERA
- aceleração precoce
- action camera helmet
- adaptabilidade em motas
- adv
- ADV community
- adv motorcycle
- adv motorcycle blog
- ADV riding
- adv training portugal
- adv vs dual sport
- adve
- adventure
- adventure bike
- adventure bike blogs
- adventure bike ergonomics
- adventure bike for beginners
- Adventure Bike In Deep Sand
- adventure bike racing
- Adventure Bike Riding
- Adventure Bike STUCK IN SAND
- adventure bike training
- adventure bikes
- adventure bikes training
- adventure motorcycle
- adventure motorcycle blog
- adventure motorcycle for beginners
- Adventure motorcycle In Deep Sand
- adventure motorcycle myths
- Adventure Motorcycle Riding
- Adventure motorcycle STUCK IN SAND
- adventure motorcycle suspension setup
- adventure motorcycle touring blog
- adventure motorcycle travel blog
- adventure riding
- adventure riding school
- adventure riding skills
- adventure vs dual sport
- aerodinâmica moto
- aging and performance
- aging and sport performance
- aging athletes SEO / publication: older riders motorcycle training
- Ainda achas que formação é cara?
- air to fuel ratio motorcycle
- alta redshift
- altura ao solo
- altura do banco
- análise
- análise visual
- analogia aviação
- and how often should we do it?
- ângulo de escorregamento
- anti lock braking system in motorcycles
- anti lock braking system on motorcycle
- aprender a andar de mota
- aprender a andar de moto
- aprender adv
- aprender enduro
- aprender fora de estrada
- aprender mota
- aprender moto
- aprender motocross
- aprender mx
- aprender offroad
- aprender supercross
- aprender sx
- aprendizagem
- aprendizagem com intenção
- aprendizagem de motas
- aprendizagem em motas
- aprendizagem mota
- aprendizagem motas
- aprendizagem moto
- aprendizagem moto terra
- aprendizagem motora
- aquecimento adv
- aquecimento enduro
- aquecimento motocross
- aquecimento todo terreno
- Are expensive helmets worth the cost
- are expensive motorcycle helmets better
- are expensive motorcycle helmets safer
- Are expensive motorcycle helmets worth it
- are more expensive motorcycle helmets safer
- are motorcycle getting safer?
- are motorcycles safe?
- Are motorcycles safer today than 50 years ago?
- are motorcycles safer today?
- Areia não é só cu para trás e acelerador!
- arm pump
- armp pump motocross
- arranque enduro
- arranque motocross
- arranque supercross
- artigo de opinião
- artigo de opinião motas
- artigo motas
- artigo motas elétricas
- artigos BN Endurocamp
- artigos opinião BN Adv
- artigos técnicos bn
- As espectativas das motas mágicas
- atenção visual
- aulas adventure
- aulas aventura
- aulas de mota
- aulas enduro
- aulas fora de estrada
- aulas mota portugal
- aulas moto
- aulas moto portugal
- aulas offroad portugal
- auto-análise do piloto
- autocrítica
- auxiliary lights for bike
- auxiliary lights for motorcycle
- auxiliary lights on bike
- auxiliary lights on motorcycle
- aventura
- aventura 2 rodas
- aventura em duas rodas
- aventura moto
- aventura off-road
- aventura segura
- aventureiros experientes
- aventureiros iniciantes
- aviação e motas
- avoid motorcycle panic
- baixa técnica
- baja 500 portalegre
- baja behind the scenes
- baja racing motorcycles
- balance and reactivity loss
- bancos confortáveis ou seguros
- base técnica
- bases off-road
- bases offroad
- Basic Anatomy of a dual sport bike
- Basic Anatomy of an adventure bike
- basic Bike maintenance checklist
- Basic differences between dual-sport and adventure bikes
- Basic differences between motorcycle helmets
- basic maintenance of motorcycle
- basic motorcycle maintenance
- basic motorcycle maintenance checklist
- basic motorcycle safety tips
- basic motorcycle suspension setup
- basics of a bike oil change
- basics of a motorcycle oil change
- bateria moto
- beginner motorcycle mistake
- beginner motorcycle mistakes
- behind the scenes baja
- behind the scenes baja racing
- behind the scenes rally
- being safe on a motorcycle
- best adv bike
- best adventure bike
- best adventure bike for beginners
- BEST Adventure Bike Riding TIP
- best adventure motorcycle
- best adventure motorcycle blogs
- best adventure motorcycle for beginners
- BEST Adventure Motorcycle Riding TIP
- best bike auxiliary led lights
- best dual sport adventure bikes
- best dual sport adventure motorcycle
- best dual sport adventure touring motorcycle
- best dual sport bike for adventure riding
- best long distance motorcycle
- best motorcycle
- best motorcycle auxiliary led lights
- best motorcycle blog
- best motorcycle brake pads
- best round the world motorcycle
- best way to balance a motorcycle
- best way to change motorcycle oil
- best way to lift a motorcycle
- best way to maintain bike chain
- best way to maintain motorcycle chain
- best way to pack motorcycle luggage
- big bike
- big touring groups
- Bike Air Filter
- Bike air filter change
- Bike Air Filter Replacement
- Bike Air Filter Tips
- Bike air filter when to change
- Bike Apparel Store
- bike auxiliary driving lights
- bike auxiliary lights
- bike auxiliary lights led
- bike auxiliary tail lights
- Bike blog
- Bike blog usa
- Bike clothing online store
- Bike clothing store usa
- Bike for beginners
- bike lights
- Bike Maintenance Check
- Bike maintenance checklist
- Bike maintenance checks
- bike oil change
- bike oil change in easy steps
- Bike Riding tip
- Bike Riding Tips For Beginners
- Bike Tires
- bike touring blog
- bike’s basic maintenance
- biomecânica
- bmw 850 gs
- bmw enduropark
- bmw f850gs
- bmw f850gs 2019
- bmw f850gs akrapovic
- BMW F850GS Baja Racing story
- BMW F850GS Rallye
- bmw gs
- bmw gs 2019
- bmw gs adventure
- bmw motorrad
- BMW R1250GS
- BMW R1250GS Review
- BN
- bn adv
- BN Adv conforto
- bn adv portugal
- bn enduro camp
- bn enduro camp blog
- bn endurocamp
- BN Endurocamp conforto
- bn endurocamp portugal
- BN moto training
- bn-adv.com
- body preservation audience: mature adventure riders
- bone density
- botas de enduro rígidas
- braaaaaapp
- Braaaaaapp NATION
- braaaaaapp review
- broken fairing motorcycle
- buying a used bike checklist
- cadeia erro livro
- cair de mota
- Cal Crutchlow
- Can helmet cams and intercoms be dangerous?
- Can you flatfoot your bike?
- capacitação do piloto
- Casey Stoner
- change your bike oil in easy steps
- change your motorcycle oil in easy steps
- charley boorman
- checklist for buying a used bike
- checklist for buying used bike
- checklist when buying a used bike
- Choose Your Bike Tires
- Choose Your Motorcycle Tires
- chuva offroad
- classes de terrenos
- classificação de terrenos
- com motas pequenas ou grandes?
- combined brake system for motorcycles
- comfort on long distance motorcycle rides
- common motorcycle myths
- Como aprender a andar de mota no sofá
- Como aprender no sofá
- como desligar ajudas
- como escolher modo off-road
- como escolher pneus de mota
- Como escolher uma escola de adventure
- Como escolher uma escola de enduro
- Como escolher uma escola de fora de estrada
- Como escolher uma escola de motocross
- Como escolher uma escola de mx
- Como escolher uma escola de off road
- Como escolher uma escola de sx
- como travar fora de estrada
- como travar motocross
- como travar mx
- Como travar para curvar
- como travar SX
- como ver na mota
- competição rally
- complacência
- complacency
- comportamento da mota
- comportamento dinâmico
- comportamento humano
- compras de extras para motas
- concentração
- condução aventura
- condução de mota
- condução defensiva
- condução em terrenos soltos
- condução lenta
- condução lenta e controlada
- condução off-road
- condução técnica
- confiança
- confiança na condução
- conforto
- conforto em motas
- conforto em off-road
- conforto vs segurança
- consistência
- consistência técnica
- contacto e tração
- controlo
- controlo da mota
- controlo de tração off-road
- controlo de tracção
- controlo e precisão
- controlo emocional
- controlo fino de embraiagem
- controlo mota chuva
- controlo moto
- controlo motor
- controlo vs velocidade
- coordenação motora
- cornering when braking
- corpo e mota
- Cossalter
- Cotovelos para cima de mota
- Cotovelos para cima.. porque?!
- Crew Resource Management
- CRF300L
- CRF300L off-road
- crítica ao sistema de ensino
- crítica eletrónica motos
- crítica indústria motociclista
- crítica modos de potência
- CRM aviação
- curiosity technical angle: type II muscle fibre decline
- curso condução
- curso condução fora de estrada
- curso condução moto
- curso de suspensão
- curso mota
- curso mota portugal
- curso offroad portugal
- cursos de motociclismo
- cursos off-road
- curva apertada
- curvas apertadas
- custo formação ADV
- custo formação enduro
- custo formação todo terreno
- Dakar
- Dakar 2026
- Dakar bike
- dangerous helmet
- Darwin Awards moto
- decisão
- decisões rápidas
- deep sand riding techniques
- deformação da carcaça
- dependência eletrónica
- desempenho em condução fora de estrada
- desenvolvimento pessoal no motociclismo
- desenvolvimento técnico motociclista
- desporto
- Devemos aprender em motas grandes ou pequenas
- dicas condução off-road
- dicas de condução
- dicas de motociclismo
- dicas para motards experientes
- dicas para motards iniciados
- diferença estrada pista
- difference between dual sport and adventure bikes
- dinâmica do pneu traseiro
- dirt
- dirt bike stuck in sand
- dirt motorcycle stuck in sand
- dirt track motorcycle suspension setup
- disc brake maintenance motorcycle
- distração vs foco
- divertimento moto terra
- do I need a motorcycle helmet
- do i need a new helmet
- Do you need to flatfoot both feet to ride bikes?
- domínio da mota
- dosagem de acelerador
- drift em moto
- drills de controlo
- dropped my helmet
- dropped my helmet need a new one?
- dropped my helmet what now
- DT juventude
- dua
- dual sport
- dual sport adventure bikes
- dual sport adventure motorcycles
- Dual sport and adventure bikes
- dual sport and touring motorcycles
- dual sport bike for adventure riding
- dual sport or adventure bike
- dual sport or adventure motorcycle
- dual sport riding groups
- dual sport vs adventure bikes
- dual-sport
- Dunning-Kruger riding
- e técnicamente mau
- easiest way to lift a motorcycle
- easy adventure bike tracks
- easy adventure motorcycle tracks
- easy adventure tracks
- easy dual-sport tracks
- easy off-road
- Edgar Canet
- eficiência off-road
- electrónica mascarar evolução
- eletric motion
- eletrónica motos terra
- EM CASO DE DÚVIDA
- embraiagem a meio curso
- embraiagem como torneira
- emotional health motorcycle
- empowerment
- endurance riding
- enduro
- enduro adventure
- enduro after 70
- enduro camp
- enduro handlebars
- enduro instructor Portugal
- enduro lúdico
- enduro park
- enduro Portugal
- enduro power parts
- enduro recreativo
- enduro school
- enduro techniques emotion: motivation
- enduro training
- engenharia de pneus
- engine oil change in motorcycle
- ensino de mota
- ensino off-road
- Entender pneus motas
- Entender tração e pneus
- Entender tração motas
- equilíbrio
- equilíbrio em baixa
- equilíbrio em motas
- equilíbrio piloto-máquina
- equipamento de mota aventura
- equipamento offroad
- ergonomia
- ergonomia e controlo corporal
- ergonomia em motas
- ergonomics
- erro cognitivo
- erro comum no off-road
- erro de confiança
- erro humano
- erro técnico Dakar
- erros
- erros comuns de condução
- erros comuns em motas
- erros comuns no conforto
- erros comuns no fora de estrada
- erros de equipamento
- erros de leitura do piloto
- erros de principiante
- erros filmados Dakar
- És demasiado rápido… para ser rápido
- escola enduro Portugal
- escolha consciente offroad
- escolha de equipamento técnico
- escolha de formação moto
- escolhas de modos moto
- escolhas pros Dakar
- espectador recalibração
- espetáculo pressão
- estabilidade
- estabilidade e controlo
- estado de flow
- estrada e terra
- Etiqueta e segurança nos trilhos
- Etiqueta e segurança nos trilhos para motas
- etiqueta fora de estrada
- Etiqueta para motas
- evitar maus hábitos
- evitar maus hábitos na terra
- evolução
- evolução do piloto
- evolução piloto
- evolução rápida moto
- ewan mcgregor
- exame de mota
- exercícios de baixa velocidade
- exercícios de controlo
- exercícios de iniciação
- Experience vs Expertise
- experienced motorcycle rider
- experiência
- experiência de condução
- Experiência vale o que vale
- experiência vs repetição
- expert adventure rider
- experter motorcycle rider
- extras de mota
- f 850 gs
- f 850 gs adventure
- f 850 gs akrapovic
- f850gs
- f850gs 2018
- f850gs adventure
- fadiga Dakar
- fadiga mental
- fadiga moto
- falling motorcycle
- feedback mota
- filmagens prova
- filosofia de pilotagem
- flow
- foco
- foco visual
- fora de estrada
- fora estrada lúdico
- força
- formação
- formação adventure
- formação aventura
- formação BN Adv
- formação condução moto
- formação de condução
- formação de moto
- formação de motociclistas
- formação de pilotos
- formação em duas rodas
- Formação em motas grandes ou pequenas?
- formação enduro
- formação fora de estrada
- formação inicial mota
- formação mota
- formação mota terra
- formação moto
- formação motociclistas
- Formação off road
- formação off-road
- formação off-road Portugal
- formação offroad
- fracture recovery
- fuel leak
- fundamentos de condução
- fundamentos do fora de estrada
- gaze control
- geometria
- geometria de motas
- gestão de compromisso
- gestão de desconforto
- gestão de risco
- gold standard aprendizagem
- guia formação motociclistas
- Guy Martin
- Há coisas que não se ensinam
- habilidades técnicas essenciais
- hábitos de condução
- hábitos de consumo motociclístico
- Haiden Deegan
- hard enduro
- harley davidson
- harley davidson livewire
- helicóptero Dakar
- helmet cam
- helmet cam danger
- hiperfoco
- honest motorcycle review
- honest review
- how do i choose a Bike helmet
- how do i choose a motorcycle helmet
- how do I know when I need a new helmet
- How do I train myself for panic situations?
- how do you buy a used motorcycle
- how long to change motorcycle engine oil
- How much does it cost annually to maintain a motorcycle if I do a lot of the work myself?
- how much will I spend if I do my own maintenance
- how often change bike air filter
- how often change motorcycle air filter
- how often do you lube your motorcycle chain
- how often should you lube your chain motorcycle
- how often to lube your bike chain
- how should your feet be touching the ground?
- how to
- how to adventure
- how to balance a big motorcycle
- how to balance a motorcycle
- how to balance a motorcycle at slow speeds
- how to balance your motorcycle
- how to buy a used motorcycle
- how to buy an used motorcycle
- how to care for bike chain
- how to care for motorcycle chain
- How to care for your motorcycle brakes
- How To Care For Your Suspension
- How to carry your gear
- how to change a bike air filter
- how to change a motorcycle air filter
- how to change bike oil
- how to change engine oil on a bike
- how to change engine oil on a motorcycle
- how to change motorcycle engine oil
- how to change motorcycle oil
- how to change motorcycle oil and filter
- how to change oil in motorcycle
- How to change your bike oil in easy steps
- How to change your motorcycle oil in easy steps
- how to change your oil in your bike
- how to change your oil in your motorcycle
- how to change your oil on a bike
- how to change your oil on a motorcycle
- how to check a used motorcycle
- how to check out a used motorcycle
- How To Choose A Bike Helmet
- how to choose a bike helmet size
- How To Choose A Bike Tire
- how to choose a good bike helmet
- how to choose a good motorcycle helmet
- how to choose a helmet for bike
- how to choose a helmet for motorcycle
- how to choose a long distance bike
- how to choose a long distance motorcycle
- How to choose a motorcycle helmet
- how to choose a motorcycle helmet size
- How To Choose A Motorcycle Tire
- How to choose a round the world motorcycle
- how to choose a round the world motorcycleround the trip
- how to choose a safe bike helmet
- how to choose a safe motorcycle helmet
- how to choose and adventure motorcycle
- how to choose and off-road school
- how to choose Bike tyres
- How To Choose Motorcycle Tires
- how to choose motorcycle tyres
- how to choose right bike helmet
- how to choose right motorcycle helmet
- how to choose safest bike helmet
- how to choose safest motorcycle helmet
- how to choose the best bike helmet
- how to choose the best Bike tire
- how to choose the best motorcycle
- how to choose the best motorcycle helmet
- how to choose the best motorcycle tire
- How to choose the right adventure riding school
- how to choose the right bike
- how to choose the right Bike helmet
- how to choose the right bike tires
- how to choose the right motorcycle helmet
- how to choose the right motorcycle tires
- how to choose tires for Bike
- how to choose tires for motorcycle
- how to choose tyres for Bike
- how to choose tyres for motorcycle
- how to choose your bike helmet
- How To Choose Your Bike Tires
- how to choose your motorcycle helmet
- How To Choose Your Motorcycle Tires
- how to chose a motorcycle
- how to clean and lube your motorcycle chain
- how to clean your motorcycle chain and lube it
- how to do motorcycle oil change
- how to find the right tire for yourself
- how to fix a motorcycle
- how to go about buying a used motorcycle
- how to improve motorcycle power
- how to inspect a used motorcycle
- how to keep motorcycle engine clean
- how to keep motorcycle engine cool
- how to lift a big motorcycle
- how to lift a motorcycle
- how to lift a motorcycle by myself
- how to lift a motorcycle by yourself
- how to lift a motorcycle off the ground
- how to lift your motorcycle off the ground
- how to lube a chain
- how to lube a motorcycle chain
- how to lubricate your motorcycle chain
- How To Maintain A Bike Chain
- how to maintain a motorcycle chain
- how to maintain a motorcycle engine
- How To Maintain Bike Chain
- how to maintain good motorcycle engine
- how to maintain motorcycle brakes
- How To Maintain Motorcycle Chain
- how to maintain motorcycle disc brakes
- how to maintain my bike chain
- how to maintain my motorcycle chain
- How To Maintain Your Bike Chain
- How To Maintain Your Motorcycle Chain
- how to maintain your motorcycle engine
- how to motorcycle
- how to pack for a long distance motorcycle trip
- how to pack for a motorcycle camping trip
- How To Pack For A Motorcycle Trip
- how to pack luggage on a motorcycle
- How to pack motorcycle luggage
- how to pack on a motorcycle trip
- how to pick out a Bike helmet
- how to pick out a motorcycle helmet
- how to pick up a motorcycle
- how to pick up a motorcycle by myself
- how to pick up a motorcycle by yourself
- how to properly maintain a bike chain
- how to properly maintain a motorcycle chain
- how to replace motorcycle air box
- how to replace motorcycle air filter
- how to replace motorcycle engine oil
- how to ride a motorcycle for long distances
- How to ride a Motorcycle on long distances
- How to Ride a Tall Motorbike If You Are Short
- How To Ride Adventure Bike In Deep Sand
- How To Ride Adventure motorcycle In Deep Sand
- how to ride long distance on a motorcycle
- how to ride off-road
- how to safely buy a used motorcycle
- How to safely fall from a motorcycle
- How to safely ride in the rain
- how to start off-road at 60
- how to stay calm on a motorcycle
- how to stay comfortable on a long bike ride
- how to stay comfortable on a long motorcycle ride
- How to stay comfortable on long rides
- how to stay safe on your motorcycle
- how to take care of a bike chain
- how to take care of a motorcycle chain
- how to take care of motorcycle engine
- how to take care of your bike chain
- how to take care of your motorcycle chain
- how to take care of your motorcycle engine
- how to take care of your suspension
- how to use a motorcycle side stand
- how to use a side stand
- How to winterise your motorcycle
- how to winterize a dirt bike
- how to winterize a motorcycle
- how to winterize a sport bike
- how to winterize a touring bike
- how to winterize my harley
- How to winterize your motorcycle
- human factors
- humility
- idade média Dakar
- If it ain't broken don't fix it
- ilusão roupas moto
- impacto da eletrónica no treino
- iniciante offroad
- iniciantes em motas
- iniciantes off-road
- injured riders returning to dirt
- injury management
- inspiration
- instinto vs técnica
- instrução moto
- instrução técnica
- instructor moto
- instructors
- instrutor bn adv
- instrutor bn endurocamp
- instrutor mota
- instrutor moto
- instrutor moto portugal
- instrutor off-road
- is an expensive motorcycle helmet worth it
- Is faster on a motorcycle safer?
- Is it required to be flat-footed?
- is it worth buying an expensive motorcycle helmet
- is there a good way to fall on a motocycle
- is there a safe way to fall on a motorcycle
- Isso precisa é de mais velocidade!
- It pays to suck at riding
- James Stewart
- janela de risco
- Jett Lawrence
- José Miguel Duarte
- kit de unhas
- kits de rebaixamento
- Kobe Bryant
- late starters
- Learn With Bike Groups
- Learn with Braaaaaapp
- Learn With Motorcycle Groups
- leitura de terreno
- let's tal power parts
- let's talk foot controls
- let's talk gear series
- Let's talk HANDLEBARS
- Let's talk RISERS
- levantar mota
- lift a motorcycle
- ligação mente-músculo
- lightweight adventure bike
- linked braking system on motorcycle
- live wire
- livewire
- livro fundamentos
- long distance bike
- long distance bikes
- long distance motorcycle
- long distance motorcycle rides
- long distance motorcycle riding
- long distance motorcycle riding tips
- Long distance motorcycle trip mistakes
- long distance motorcycle trip tips
- long distance motorcycle trips
- long distance riding on a motorcycle
- long distance riding tips motorcycle
- long rides motorcycle
- long way down
- long way down charley boorman
- long way round
- long way up
- long way up charley boorman ewan mcgregor
- long way up e-bikes
- long way up electric
- long way up electric harley davidson
- long way up electric motorcycles
- long way up ewan mcgregor
- long way up harley davidson
- long way up harley davidson livewire
- long way up news
- lube your motorcycle chain
- má interpretação de experiência
- maintenance checklist for motorcycle
- maintenance checklist motorcycles
- maintenance of motorcycle chain
- maintenance of motorcycle engine
- manobras de perícia
- manobras técnicas
- manutenção moto
- margem segurança
- marketing de motas
- Martim Ventura Dakar
- Mason Klein
- mecânica aplicada ao controlo
- melhor pneu touring
- melhoria contínua
- melhoria de pilotagem
- memória de procedimentos
- memória muscular
- mental health riding
- mental load
- mente e corpo
- mindset
- mitos
- mitos do fora de estrada
- mitos sobre conforto em motas
- modos off-road explicação
- modulação de travão
- mota aventura portugal
- mota própria vs alugada
- mota terra
- motas
- motas a combustão
- motas altas
- motas aventura
- motas de aventura
- motas de estrada
- motas elétricas
- motas eletrónicas
- motas modernas
- motas pequenas ou grandes?
- motas Portugal
- motivação no desporto
- moto ADV
- moto adventure chuva
- moto aventura
- moto aventura em Portugal
- moto aventura portugal
- moto Dakar aerodinâmica
- moto training portugal
- motoaventura
- motociclismo
- motociclismo avançado
- motociclismo consciente
- motociclismo de aventura
- motociclismo off-road
- motociclismo Portugal
- motocross
- motoestrada
- MotoGP
- motorbike blog
- motorcorss
- motorcycle abs brake system
- motorcycle adventure blog
- Motorcycle Air Filter
- motorcycle air filter change
- Motorcycle Air Filter Replacement
- Motorcycle Air Filter Tips
- motorcycle air filter when to change
- motorcycle airbox
- Motorcycle Apparel Store
- Motorcycle auxiliar LIGHTS - 3 TOP Tips
- motorcycle auxiliary driving lights
- motorcycle auxiliary lights
- motorcycle auxiliary lights led
- motorcycle auxiliary tail lights
- motorcycle balance training
- motorcycle basic maintenance
- motorcycle beginner mistakes
- motorcycle blog
- motorcycle blog usa
- motorcycle blogs
- Motorcycle brake disk
- Motorcycle brake maintenance
- Motorcycle brake oil
- Motorcycle brake pads
- motorcycle brake pads types
- Motorcycle brake system
- motorcycle brakes
- Motorcycle braking
- motorcycle broken plastics
- motorcycle can
- motorcycle clothing online store
- motorcycle clothing store usa
- motorcycle combined braking system
- motorcycle confidence
- motorcycle conic filter
- motorcycle cornering
- motorcycle cornering and braking
- motorcycle craked fairing
- motorcycle crash
- motorcycle disc brake system
- motorcycle driving
- motorcycle driving tip
- motorcycle driving tips
- motorcycle driving tips for beginners
- motorcycle dual brake system
- motorcycle engine care tips
- motorcycle engine maintenance
- motorcycle engine maintenance and repair
- motorcycle engine maintenance tips
- Motorcycle engine reliability
- motorcycle ergonomics
- motorcycle exhaust
- motorcycle fall
- motorcycle for beginners
- motorcycle front brake
- motorcycle front or rear brake
- motorcycle front suspension setup
- Motorcycle Groups
- motorcycle groups near me
- motorcycle handlebars
- motorcycle helmet blog
- motorcycle helmets blogs
- motorcycle high flow air filter
- motorcycle high flow filter
- motorcycle hydraulic brake system
- motorcycle injury
- motorcycle lever
- motorcycle lights
- motorcycle long distance riding tips
- motorcycle maintenance
- motorcycle maintenance blog
- Motorcycle Maintenance Check
- motorcycle maintenance checklist
- motorcycle maintenance checks
- motorcycle maintenance tips and tricks
- motorcycle mechanics
- Motorcycle mechanics and safety
- motorcycle mistakes
- motorcycle myths
- motorcycle myths and facts
- motorcycle myths and facts blog
- motorcycle myths blog
- motorcycle news
- motorcycle oil change
- motorcycle oil change in easy steps
- motorcycle pegs
- motorcycle power parts
- motorcycle rear brake
- motorcycle repair tips and trick
- motorcycle repair tips and tricks
- motorcycle review
- motorcycle ride blogs
- motorcycle riding blogs
- Motorcycle riding in the rain
- motorcycle riding in the rain tips
- motorcycle riding safety tips
- motorcycle riding techniques
- motorcycle riding tips and tricks
- Motorcycle Riding Tips For Beginners
- motorcycle road trip blogs
- motorcycle rookie mistakes
- motorcycle safety
- motorcycle safety tip